Alternative frontend origins
Overview
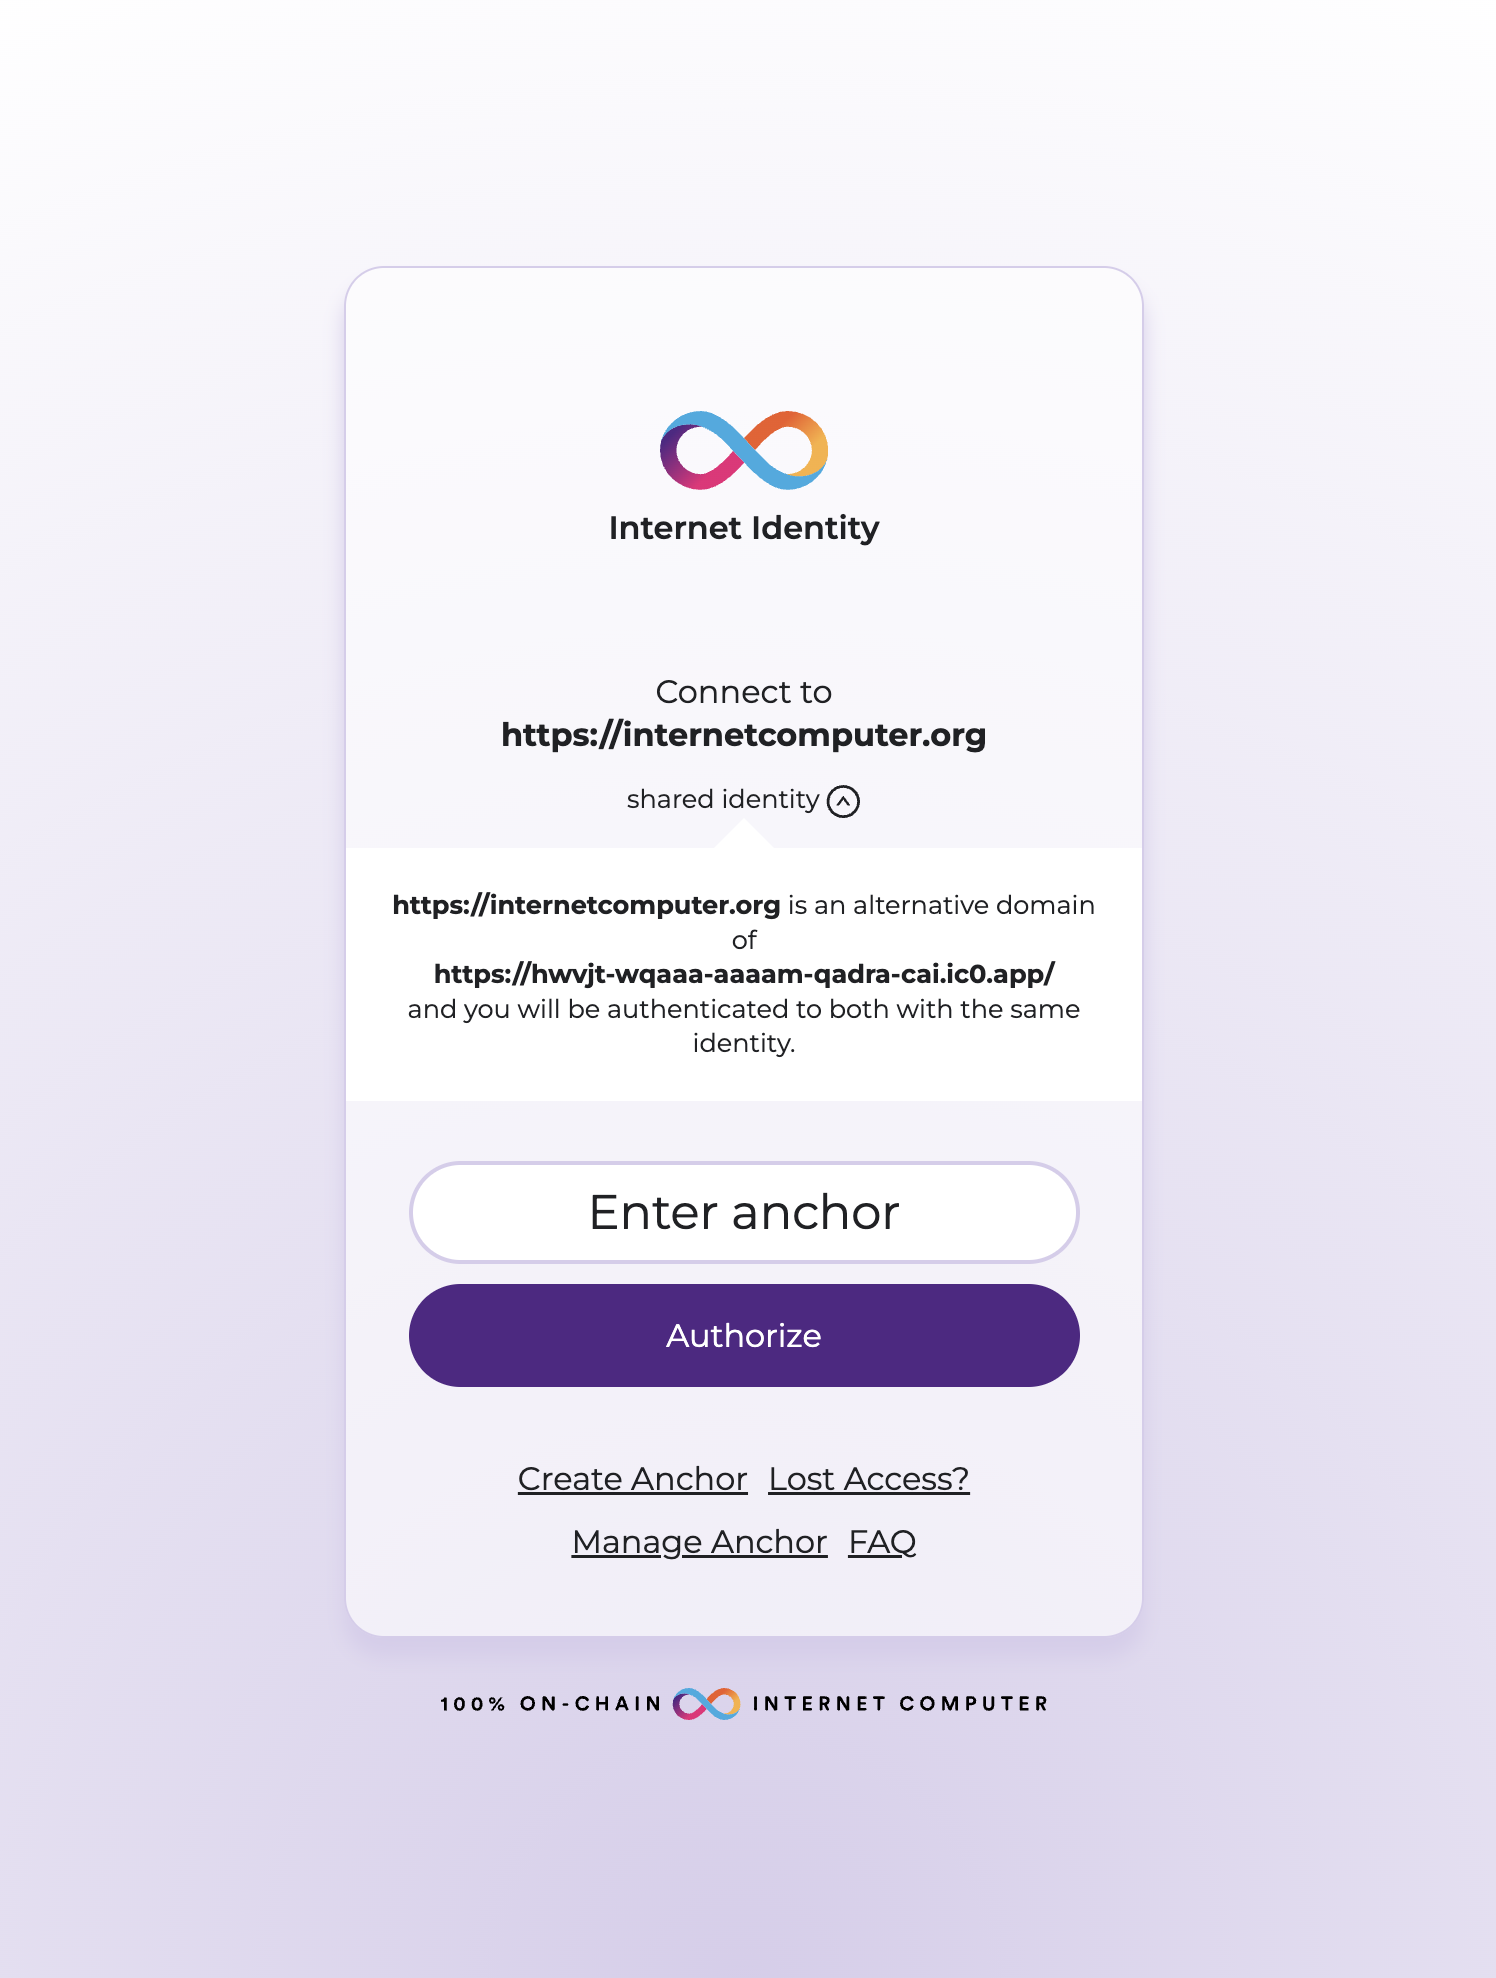
If your application has reached the stage where you want to change domain names, and you have been authenticating with Internet Identity (II), you will want to make sure that your users can seamlessly keep the same principals they have already been using. To support this functionality, you can configure your application for alternative frontend origins using this guide.

You may need this guide if you are doing any of the following:
- Moving from
<canister-id>.icp0.ioto a custom domain. - Asking users to login at
/logininstead of/. - Supporting users using
raw.icp0.io. - Configuring multiple apps in your organization to use the same principals.
Constraints
Currently, a maximum of 10 alternative origins can be listed.
II will only follow this specification when the origin configuring these alternatives is hosted on a canister using certified assets.
For more information, see the Internet Identity specification.
Configuring alternative origins
For this example, you will have two domains, A and B. A will be the canonical origin, and B will be the alternative domain. To help illustrate this model, consider this website, which is hosted both at https://yourcustomdomain.com and https://www.yourdomain.com.
In this example, A would be https://yourcustomdomain.com.
B would be the alternative origin, or https://www.yourdomain.com.
Your custom domains must be registered with the boundary nodes.
Listing origins
On origin A, you will need to provide a file that tells Internet Identity that B is a valid alternative origin. You'll be placing the config files in src/assets directory of your frontend canister. If your frontend canister is currently configured to deploy assets from a dist folder, make sure to update the sources for your canister to include both:
"source": [
    "dist",
    "src/assets"
]
Inside of src/assets, create a .well-known folder, and add a file named ii-alternative-origins.
The file needs to exactly be named ii-alternative-origins, with no file extension. The content inside will be formatted as JSON, but the file should not end with .json.
Inside of the file, list your alternative origin for B. It will look something like this:
{
  "alternativeOrigins": ["https://internetcomputer.org"]
}
Make sure that you remove any trailing slash or query parameters from the origin
Now, your project should look something like this:
├── dfx.json
├── src
│   ├── assets
│   │   ├── .well-known
│   │   │   └── ii-alternative-origins
Configuring your frontend canister
Because the dot syntax in .well-known ordinarily will be treated as "hidden" by the file system, the frontend canister will need to be configured to upload your document. To configure the frontend canister, create a new file, .ic-assets.json. .ic-assets.json needs to be placed inside a directory listed in sources for your canister, so you can use src/assets again. Your new list of files should look like this:
├── dfx.json
├── package.json
├── src
│   ├── project_frontend
│   │   ├── src
│   │   │   ├── .ic-assets.json
│   │   │   ├── .well-known
│   │   │   │   └── ii-alternative-origins
Then, configure the .well-known directory to be included, with:
[
  {
    "match": ".well-known",
    "ignore": false
  },
  {
    "match": ".well-known/ii-alternative-origins",
    "headers": {
      "Access-Control-Allow-Origin": "*",
      "Content-Type": "application/json"
    },
    "ignore": false
  }
]
This includes a general rule to not ignore the .well-known directory, and rules to deliver the ii-alternative-origins with access control and content-type headers.
Then, all you need to do is deploy your canister. When you attempt to authenticate from origin B from then on, you will get back the same principal you get while using A. This needs to be supplemented with the information configured with the AuthClient to specifically request to use domain A when authenticating from B, i.e. set derivationOrigin in call options to login.